Categories
Restoration

Top 5 Rust Repair Panels for Trucks: A Buyer’s Guide

Truck rust spreads fast once moisture reaches bare steel. Salt, grime, road debris and normal wear can turn small paint bubbles into weak sheet metal, especially on older pickups and work trucks. The right rust repair panel lets you cut out damaged metal and replace it instead of hiding corrosion with filler.

At Raybuck Auto Body Parts, we help truck owners, restoration builders and repair shops find replacement panels that fit the job. This guide covers five useful rust repair panels for trucks, plus practical buying tips.

Key Takeaways

  • Rust repair panels help replace damaged truck sheet metal instead of covering corrosion with filler.
  • Rocker panels, cab corners, wheel arches, floor pans and truck bed panels are five of the most common repair areas.
  • Always confirm the truck’s year, make, model, cab style, bed length and side before ordering.
  • EDP-coated panels still need proper prep, primer, seam sealer and paint before the repair is complete.
  • Inspect nearby panels before starting the repair, since rust often spreads into connected lower-body areas.

Did you know? Rust that starts as bubbling paint can hide larger damage behind the panel, so a full inspection can save time before ordering parts.

Quick Comparison of Truck Rust Repair Panels

Panel Common rust area Best used when Buyer tip
Rocker panels Lower cab Rust spreads below doors Match cab type
Cab corners Lower rear cab Rust appears behind doors Check both sides
Wheel arches and quarter panels Wheel openings Rust bubbles around arch Inspect inner wheelhouse
Floor pans Cab floor Metal is soft or perforated Fix leaks first
Truck bed panels Bed floor and bedsides Bed is repairable Check bed length

What to Check Before Buying Rust Repair Panels

Inspect the whole truck before ordering. Rust often spreads behind paint, trim, carpet, undercoating and seam sealer. Look for bubbling paint, flaking metal, pinholes and soft spots.

Use this checklist:

  • Confirm year, make and model.
  • Check cab style, such as regular, extended, crew, or quad cab.
  • Confirm bed length for bed or quarter panel parts.
  • Identify the correct side.
  • Decide whether the job needs a patch, full panel, or related panels.
  • Plan for primer, seam sealer, coating and paint.

Many steel replacement panels include EDP coating, or electro-deposit primer. This protects the panel during transportation, storage and installation, but it is not the final finish. Learn more in Raybuck’s EDP coating guide.

1. Rocker Panels

Rocker panels are a common truck rust repair panel because they sit low on the body, directly in the path of road spray, mud, salt and debris. When rockers rust through, the truck can look worn even if the rest of the body is solid.

A repair may involve a full rocker, an outer rocker, or a lower repair section. The right choice depends on how far the corrosion has spread. If rust reaches the cab corner or floor, plan the repair as a larger lower-body project.

Rocker Panel Buying Tips

  • Select the correct cab style.
  • Inspect both sides.
  • Compare full, outer and lower rocker options.
  • Check nearby cab corners and floors.

2. Cab Corners

Cab corners sit at the lower rear section of the truck cab. This area can trap moisture and debris, which makes it a common rust point on many pickups. Cab corner rust is often found near rocker panel damage, so inspect both areas together.

Cab corner replacement can improve the look of the truck and help stop corrosion from spreading into surrounding sheet metal. Raybuck offers cab corner options for multiple truck makes and model years, including driver and passenger side parts.

Cab Corner Buying Tips

  • Check both sides.
  • Match the panel to the cab configuration.
  • Look behind bubbling paint.
  • Plan for welding, seam sealing, primer and paint.

3. Wheel Arches and Quarter Panels

Wheel arches and quarter panels take a beating from stones, mud, salt and water thrown by the tires. Rust often starts at the lip of the wheel opening, then spreads outward into the quarter panel or inward toward the wheelhouse.

A wheel arch repair panel is a smart choice when rust is focused around the opening. If damage is larger, a quarter panel section may provide better coverage. Before ordering, inspect the outer panel, inner wheelhouse and lower body edges.

Wheel Arch and Quarter Panel Buying Tips

  • Confirm side-specific fitment.
  • Check whether rust is limited to the arch.
  • Inspect the inner wheelhouse.
  • Verify bed and body configuration.

4. Floor Pans

Floor pans may not be as visible as exterior sheet metal, but they matter in any serious truck repair or restoration. Rust can form under carpet, mats and insulation when water gets into the cab through worn seals, damaged weatherstripping, wet footwear, or previous body damage.

A floor pan may need replacement when the metal feels soft, has holes, or flakes apart during inspection. Check the floor from inside the cab and underneath the truck. Fix the moisture source before installing new metal.

Floor Pan Buying Tips

  • Search by year, make and model.
  • Inspect under carpet and sound deadener.
  • Repair leaks before installation.
  • Finish with primer, seam sealer and coating.

5. Truck Bed Panels

Truck beds are built to work, but cargo, plastic liners, road debris and salt spray can lead to rust. Raybuck’s truck bed panels can help repair damage without replacing or re-skinning the whole bed when the surrounding structure is still usable.

Common repair areas include lower bedsides, wheel openings, bed floors, cross sills, braces, tailgate areas and box components. Inspect visible and hidden support areas before deciding which panel to buy.

Truck Bed Panel Buying Tips

  • Confirm bed length and model year.
  • Inspect floors, bedsides and supports.
  • Look for hidden rust under liners.
  • Replace related braces or cross sills when needed.

How to Choose the Right Panel

Start with a full rust inspection, then identify the panel by name. Raybuck’s car and truck body panel diagrams can help match the damaged area with the correct part. Ordering by location alone is not enough. The same truck model may have different panels based on cab style, bed length, generation and side.

When rust appears in connected areas, order with the full repair in mind. Rocker panels, cab corners, floors and lower quarter sections often overlap during real repairs.

Installation and Rust Prevention Tips

Good panels still need careful installation. Test-fit before cutting too much metal, remove rust completely, prepare weld or adhesive areas correctly and protect the finished repair. Raybuck’s step-by-step guide to installing truck rust repair panels covers the repair process in more detail.

After installation, keep repaired areas clean, touch up chips quickly and inspect seams regularly.

Final Thoughts

The best rust repair panel depends on where the rust is, how far it has spread and how your truck is configured. Rocker panels, cab corners, wheel arches and quarter panels, floor pans and truck bed panels are five important options to consider. 

Browse Raybuck’s body and sheet metal selection to find the right repair panels for your truck.

Further Reading

Categories
Restoration

Automotive Rust Prevention Coatings: A Must-Have for Classic Cars

Classic cars deserve more than a good polish and a fresh coat of paint. Beneath the shine, older steel can be vulnerable to moisture, salt, grime, road debris, and years of wear. That is why automotive rust prevention coatings are such an important part of restoration and long-term vehicle care.

At Raybuck Auto Body Parts, we know that classic car and truck owners invest real time, money, and pride into their vehicles. Whether you are replacing rusted sheet metal, protecting new repair panels, or preserving a finished restoration, the right rust prevention products can help protect the metal behind the beauty.

Key Takeaways

  • Automotive rust prevention coatings help protect classic car metal from moisture, oxygen, salt, grime, and road debris.
  • Classic cars are especially vulnerable around rocker panels, wheel arches, cab corners, floor pans, trunk floors, door bottoms, and the undercarriage.
  • Rust protection works best when it is part of a complete process that includes inspection, surface prep, repair, seam sealing, coating, and routine maintenance.
  • Direct-to-metal coatings, rust removers, underbody protection, and cavity treatments all serve different roles in a restoration project.
  • New repair panels still need protection after installation to help prevent fresh metal from being exposed to the same conditions that caused rust in the first place.

Did you know? Wheel arches, rocker panels, and hidden cavities can trap moisture and debris, which makes them some of the most important areas to inspect during a classic car restoration.

Why Classic Cars Are More Vulnerable to Rust

Rust is a common concern for classic vehicle owners because older vehicles have often lived through decades of weather, washing, storage, road use, and previous repairs. Factory coatings can wear thin, paint can chip, seams can open, and moisture can collect in places that are difficult to see.

Classic cars are especially vulnerable in areas that trap dirt and water, including:

  • Rocker panels
  • Wheel arches
  • Cab corners
  • Quarter panels
  • Floor pans
  • Trunk floors
  • Door bottoms
  • Inner fenders
  • Frame rails
  • Undercarriage surfaces
  • Weld seams and hidden cavities

Once rust begins, it can spread under paint and coatings if the surface is not repaired and protected. For vehicles that have already needed rust repair panels, rust prevention coatings should be part of the plan from the start.

What Automotive Rust Prevention Coatings Do

Automotive rust prevention coatings are designed to help separate metal from the conditions that cause corrosion. When applied to properly prepared surfaces, these coatings help protect steel from moisture, oxygen, road salt, grime, and other contaminants.

They are especially useful after sanding, grinding, welding, or installing new metal. Any time bare steel is exposed, it needs protection before the vehicle goes back on the road or into long-term storage.

Common rust protection products include:

  • Direct-to-metal rust-inhibiting paints
  • Underbody coatings
  • Penetrating corrosion inhibitors
  • Rust removers and converters used during prep
  • Seam sealers for welded or overlapped panels

Raybuck Auto Body Parts offers rust-inhibiting paint for cars, trucks, SUVs, and restoration projects. These products help protect the structural integrity and performance of repaired or original metal.

Where Classic Cars Need Rust Protection Most

Some areas of a classic car are more exposed than others. Wheel arches, rocker panels, lower quarters, and the undercarriage take the brunt of road spray, water, and debris. Hidden cavities can be just as risky because moisture can sit inside them with little airflow.

Use this table as a quick guide during inspection and restoration:

Vehicle Area Why It Rusts Suggested Protection
Rocker panels Collect moisture and debris Clean, repair, seal, and coat
Wheel arches Exposed to road spray and grime Repair rust, coat inner and outer surfaces
Cab corners Trap salt, dirt, and water Replace damaged metal and seal seams
Floor pans Exposed to moisture from above and below Coat bare metal and inspect regularly
Trunk floors Water can collect under mats or seals Repair, seal, prime, and coat
Undercarriage Constant exposure to salt and debris Use undercoating or corrosion protection
Door bottoms Drainage areas can clog Clean drains and apply cavity protection

For areas such as wheel openings, Raybuck Auto Body Parts also offers replacement options like wheel arch repair sections to help address damaged metal before coating.

Rust Prevention Before, During, and After Repairs

Rust prevention works best as a complete process, not a single step. Coating over loose rust, dirt, grease, or moisture will not deliver the best result. The surface needs to be inspected, cleaned, repaired, and protected.

Before Repairs

Start by checking the entire vehicle for signs of rust. Look for bubbling paint, flakes, stains, pitting, soft metal, or swelling around seams. If the rust is minor, a rust remover or converter may be part of the prep process. Raybuck Auto Body Parts offers automotive rust removers and converters that can help prepare surfaces before primer, paint, or coatings.

During Repairs

If metal is too thin, weak, or badly rusted, the best solution is often replacement. Cutting away damaged metal and installing quality repair panels helps restore the structure and appearance of the vehicle. For more detailed guidance, Raybuck’s beginner’s guide to rust repair body panels is a helpful resource for planning the job.

After Repairs

Once new metal is installed, protect it. That means cleaning the surface, sealing seams, coating bare metal, and finishing with primer and paint where needed. Skipping this step can leave fresh repairs exposed to the same conditions that caused rust in the first place.

Choosing the Right Rust Prevention Coating

The best coating depends on the surface, location, and stage of the restoration. Some products are made for direct-to-metal use, while others are better suited for undercarriage protection, hidden cavities, or maintenance applications.

When choosing a coating, consider:

  • Whether it can be applied to properly prepared bare metal
  • Whether it resists moisture, salt, chemicals, heat, or abrasion
  • Whether it is suitable for visible panels, hidden areas, or underbody use
  • Whether it can be painted over if needed
  • Whether it works with your full repair process

For direct-to-metal protection, Zero Rust Paint is a strong option available from Raybuck Auto Body Parts. Raybuck describes Zero Rust as a direct-to-metal, phenolic modified-alkyd rust and corrosion control coating that creates an impermeable barrier at the steel level.

For undercarriage and hard-to-reach areas, Fluid Film Automotive Undercoating can provide long-term corrosion protection for metal surfaces. It is commonly used around doors and throughout the undercarriage.

Common Mistakes to Avoid

Even good products can underperform if the prep work is rushed. Avoid these common mistakes:

  • Applying coating over loose rust
  • Skipping cleaning or degreasing
  • Leaving seams unsealed
  • Ignoring the underside of the vehicle
  • Forgetting hidden cavities
  • Coating over trapped moisture
  • Assuming new panels do not need protection
  • Failing to inspect and touch up coatings later

Rust prevention is about building layers of protection. Repair the damaged metal, protect the exposed steel, seal vulnerable areas, and maintain the coating over time.

Maintenance After Applying Rust Prevention Coatings

Rust prevention does not end when the coating dries. Classic cars should be inspected regularly, especially after winter driving, road salt exposure, heavy rain, or long storage.

A good maintenance routine includes:

  • Washing the vehicle and undercarriage when needed
  • Checking for chips, scratches, or worn coating
  • Inspecting wheel wells, rocker panels, and lower body areas
  • Keeping drains and seams clear of debris
  • Reapplying undercoating or cavity protection when needed
  • Touching up exposed metal quickly

Raybuck’s guide on how to prevent rust on your truck also recommends regular washing, waxing, and watching for cracks or scratches before they become larger problems.

Protect the Metal Behind the Restoration

A classic car restoration is only as strong as the metal underneath it. Automotive rust prevention coatings help protect that investment by reducing exposure to moisture, salt, grime, and road debris. When paired with proper prep, quality repair panels, seam sealing, and routine maintenance, rust protection products can help keep your project in better condition for years to come.

At Raybuck Auto Body Parts, we offer the auto body parts and repair panels, rust repair products, and coatings classic car owners need to restore, protect, and maintain their vehicles with confidence.

Further Reading

Categories
Volkswagen

Volkswagen Restoration Panels: Keeping Your Classic VW in Top Shape

Classic Volkswagens remain distinctive. Their curves, practical engineering and body styles attract restorers decades later. Time can leave a Beetle, Super Beetle or Volkswagen Bus with rust, dents and weakened sheet metal.

Volkswagen restoration panels replace damaged metal with sections shaped for a particular model and year range. At Raybuck Auto Body Parts, we offer Volkswagen repair panels and restoration parts that help owners restore appearance and function without replacing more of the body than necessary.

Key Takeaways

  • Volkswagen restoration panels replace damaged or corroded sheet metal with model-specific sections.
  • Inspect visible surfaces, seams and hidden panel areas to determine the full extent of corrosion.
  • Confirm the model, year, body style, panel location and vehicle side before ordering.
  • Test-fit replacement panels carefully before welding or using an approved panel adhesive.
  • Protect finished repairs with primer, seam sealer, undercoating or cavity wax as appropriate.

Did you know? A small visible rust hole may be surrounded by a much larger area of thin or pitted metal, so always inspect beyond the obvious damage.

Why Volkswagen Restoration Panels Matter

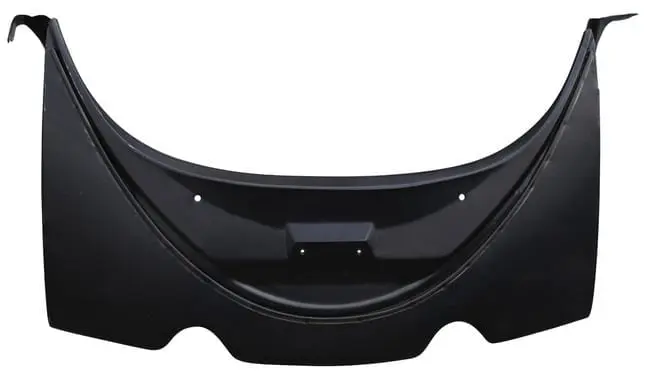
Volkswagen Restoration Panels

Rust often begins quietly. Moisture, road salt and debris can collect inside seams, wheel openings and body cavities. Surface oxidation may develop into pitting, bubbling paint or holes through the metal.

Covering corrosion with filler does not remove the affected steel. A restoration panel makes it possible to cut away damaged material and install sound metal. Depending on the location and extent of damage, the repair may use a small patch or a complete panel.

Addressing rust early can limit its spread and protect nearby metal. Our beginner’s guide to rust repair body panels explains the stages of corrosion and how to decide whether an area should be ground, patched or replaced.

Areas to Inspect on a Classic Volkswagen

Start with the exact model, production year and body style. A standard Beetle, Super Beetle, T1 Transporter and T2 Transporter do not use all the same components. Our Volkswagen models by year range guide helps identify the appropriate category.

Check visible surfaces and reverse sides of accessible panels. Corrosion may develop inside seams before becoming obvious outside. A small hole can be surrounded by thin or pitted metal.

Common Panel Areas in Raybuck’s Volkswagen Catalog

Volkswagen application Panel areas available to inspect and repair
Beetle and Super Beetle Floor pans, frame heads, lower door skins, hinge pillars, aprons, fenders and wheelhouses
T1 Volkswagen Bus Battery trays, nose panels, rocker panels, crossmembers, outriggers and floor panels
T2 Volkswagen Bus Rocker panels, nose sections, fender sections, wheel housings and crossmembers

These areas are represented in our catalog, but every Volkswagen will not experience damage in each location. Vehicle history, storage, climate, drainage and previous repairs influence condition.

Choosing the Correct VW Restoration Panel

VW Restoration Panel

Accurate fitment begins before cutting. Record the model, year, body style, repair location and side. Determine whether the project requires an inner panel, outer panel, partial patch or complete replacement section.

Use the product description to compare:

  • Stated model and year fitment
  • Driver-side or passenger-side placement
  • Body lines, flanges and mounting points
  • Inner, outer or complete-panel construction
  • Adjacent areas that may also require repair

Inspect surrounding metal before ordering. A damaged rocker edge may be accompanied by deterioration in an adjoining floor or support. Planning related repairs together can reduce repeated disassembly.

Browse model-specific collections for 1947-1967 Volkswagen Beetle repair panels, 1968-1979 Volkswagen Beetle repair panels, 1950-1967 Volkswagen Transporter T1 panels and 1968-1972 Volkswagen Transporter T2 panels.

Preparing and Installing Replacement Panels

Wear eye, hand and respiratory protection, plus correct welding protection when applicable. Remove trim, carpeting, seals and nearby components needed to expose the repair area. Protect wiring, glass and vulnerable parts from sparks and debris.

Strip paint and undercoating to reveal the corrosion boundary. Cut back to solid metal instead of attaching a new section over weak edges. Clean and treat adjoining material according to the products and repair process used.

Before permanent attachment, test-fit and clamp the panel. Confirm body lines continue smoothly, mounting points align and relevant doors operate without rubbing. Repeated fitting and trimming can prevent alignment problems.

Welding is commonly used for replacement sheet metal, especially in supporting or structural locations. Manufacturer-approved panel adhesive may be suitable for certain outer, nonstructural panels, including some door or quarter skins. Our auto body panel adhesive guide covers preparation, clamping and curing. Follow the adhesive manufacturer’s directions and applicable repair procedures. Seek professional assistance when corrosion is extensive or the repair affects structural alignment.

After attachment, smooth the repair and protect the metal with an appropriate primer, seam sealer and paint system.

Protecting New Panels From Future Corrosion

A finished exterior is only part of a lasting repair. The hidden side, overlapping flanges and seams also need protection. Depending on the location, finishing may include epoxy primer, seam sealer, undercoating and cavity wax.

To help protect completed work:

  • Seal repaired seams on both sides when access allows.
  • Apply cavity wax inside enclosed sections through suitable access points.
  • Rinse wheel wells and the undercarriage after exposure to road salt.
  • Repair paint chips before corrosion develops around them.
  • Keep drain openings clear and inspect repaired areas regularly.
  • Replace deteriorated seals that allow water to reach interior metal.

Owners working around windows and body openings can browse our Volkswagen Beetle weatherstripping when damaged seals are part of the project.

Plan the Restoration Before Starting

List every damaged panel and inspect adjoining structure before ordering. Grouping repairs helps establish a sensible sequence and identify the tools, coatings and attachment products required.

For additional options, compare our broader selection of rust repair panels and patch panels. Confirm every product’s listed fitment before beginning disassembly.

Keep Your Classic Volkswagen in Shape

Rust repair is most manageable when damage is found early and assessed completely. With the correct Volkswagen restoration panels, careful fitting and thorough corrosion protection, owners can replace deteriorated metal while preserving the recognizable form and function of their classic VW.

Further Reading

Categories
Project Builds

Essential Auto Body Repair Tools Every Car Enthusiast Needs

Auto body repair is easier when the right equipment is ready before the first cut. Whether you are treating surface rust, replacing a rocker panel, or restoring a truck bed, each stage requires specialized tools.

At Raybuck Auto Body Parts, we help enthusiasts find repair panels, fasteners, abrasives, and supplies. Here are the essential tools worth adding to your garage.

Key Takeaways

  • Proper safety equipment is essential when cutting, grinding, welding, sanding, or refinishing vehicle panels.
  • Inspection tools help reveal hidden corrosion and determine whether metal should be treated, patched, or replaced.
  • Angle grinders, drills, and spot-weld cutters make removing damaged sheet metal and factory welds more manageable.
  • Panel clamps, body hammers, dollies, and flanging tools help position and shape replacement metal accurately.
  • Careful sanding, sealing, priming, and coating protect the completed repair and improve its final appearance.

Did you know? A spot-weld cutter can separate factory-welded panels while limiting damage to the underlying metal.

Why Proper Auto Body Tools Matter

Begin by assessing the damage. Surface rust may require cleaning and refinishing, while perforated metal may need a patch or replacement panel. Suitable tools help preserve solid metal and position new parts.

Review the procedure before starting, then gather every tool and consumable required. Our auto body repair tools and supplies category is a useful starting point.

Essential Tool Checklist

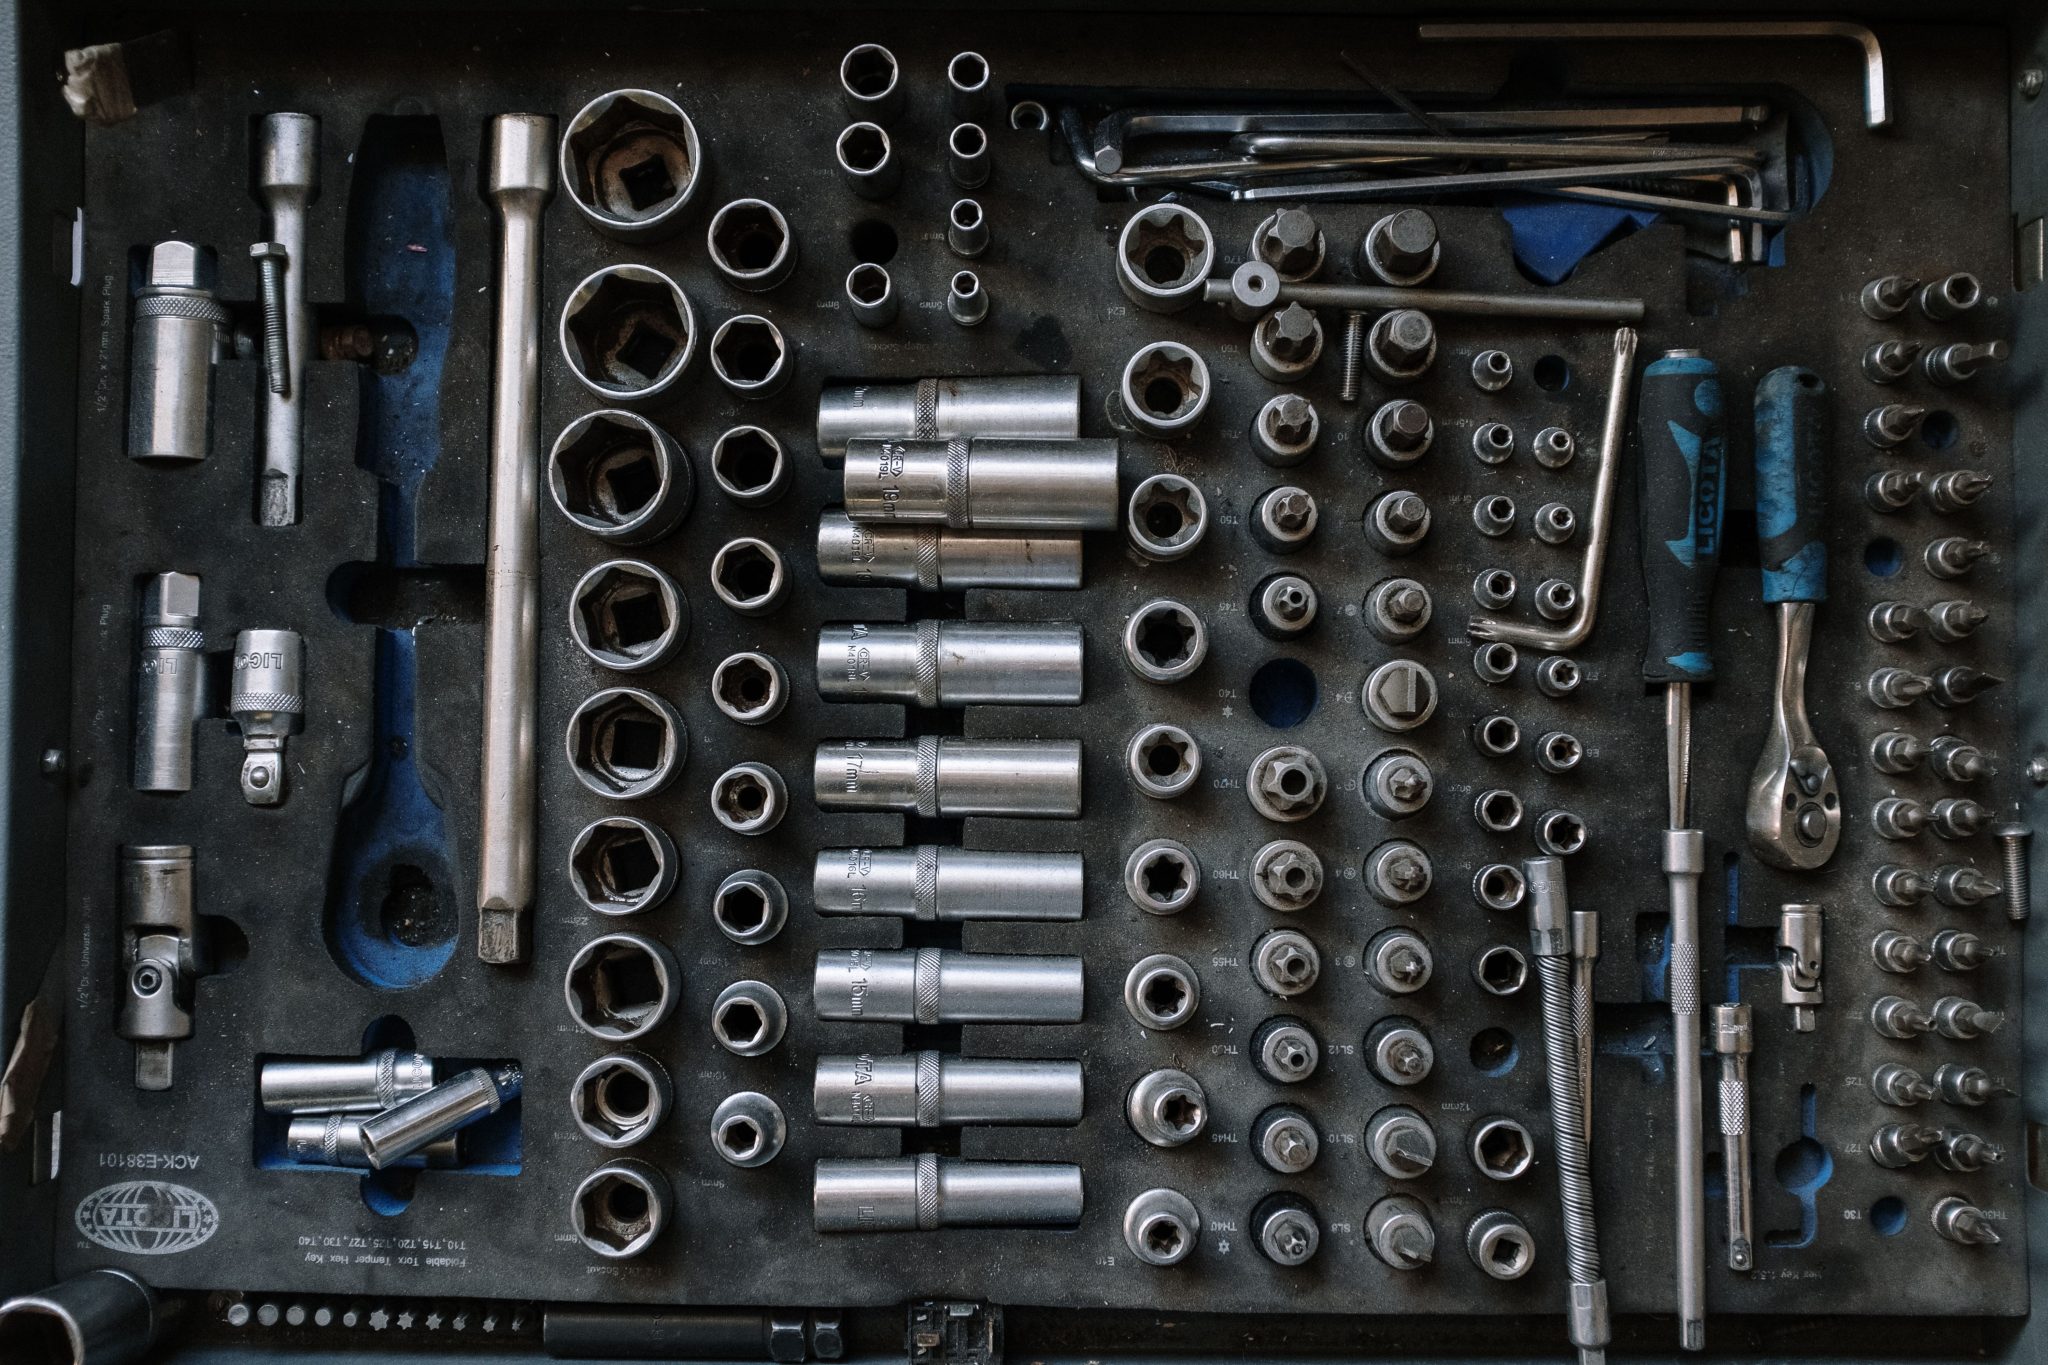
Checklist

Category Key equipment Common purpose
Safety Glasses, gloves, hearing protection, respirator Protection during hazardous tasks
Inspection Flashlight, mirror, body pick, borescope Finding corrosion and weak metal
Cutting Grinder, drill, cutoff wheels, spot-weld cutter Removing damaged metal
Fitting Hammer and dolly, flanging tool, clamps Shaping and positioning panels
Joining MIG welder, fasteners, panel adhesive Securing suitable repair panels
Finishing Abrasives, scuff pads, seam sealer Preparing and protecting repairs

1. Personal Protective Equipment

Cutting, grinding, welding, sanding, and refinishing can produce sparks, sharp edges, noise, fumes, and airborne particles. Keep these essentials available:

  • Safety glasses or suitable face protection
  • A properly rated welding helmet
  • Work gloves and welding gloves
  • Hearing protection
  • Suitable respiratory protection
  • Protective clothing and footwear

Follow the instructions supplied with each tool, abrasive, coating, and respirator. Provide adequate ventilation during welding and refinishing. Before creating sparks, check for fuel lines, wiring, glass, upholstery, and flammable materials.

2. Inspection and Measuring Tools

Rust may begin behind a panel before visible damage appears. A flashlight, inspection mirror, body pick, and borescope can reveal corrosion in wheel arches, rocker panels, cab corners, floors, and concealed areas.

Inspect both sides when possible. Identify whether the problem is surface rust, deeper pitting, or complete perforation. Mark the repair area and measure carefully before ordering or cutting metal. Our beginner’s guide to rust repair body panels explains this process further.

3. Cutting and Panel-Removal Tools

An angle grinder with the correct disc is useful for sheet-metal repair. A wire wheel can expose corrosion, a cutoff wheel can remove damaged metal, and a flap disc can clean edges or level welds.

Factory panels are often joined with spot welds. A spot-weld or Rotabroach cutter separates these joints while limiting damage to the underlying metal. Raybuck also recommends metal shears and a flanging tool for jobs such as wheel-arch replacement. Cutter lubricant can extend the life of drill bits and spot-weld cutters.

Browse our drill bits and spot-weld cutters before panel removal.

4. Metal-Shaping and Panel-Fitting Tools

Test-fit replacement metal before attaching it permanently. A body hammer and dolly set helps shape sheet metal and correct irregularities. A flanging tool creates an offset edge for certain overlapping repairs.

Locking pliers, panel clamps, and Cleco fasteners can hold a panel while you check:

  • Panel gaps and body lines
  • Door operation
  • Mounting points
  • Welding or fastening access

Trim and reposition the panel until the fit is consistent. Raybuck offers auto body parts and repair panels for numerous makes and repair locations.

5. Welding and Fastening Equipment

A MIG welder is commonly used for welded automotive panels. Thin sheet metal requires proper settings and technique, so practice on scrap steel first. Prepare panel clamps, a clean ground connection, a wire brush, welding gloves, and a suitable helmet.

Staggered weld placement can help manage heat during installation. Follow the panel manufacturer’s directions and any vehicle-specific repair procedure.

Nonstructural applications may use panel adhesive, rivets, screws, clips, or other hardware. Review our truck rust repair panel installation guide and guide to auto body fasteners when planning the joining method.

6. Surface Preparation and Finishing Tools

Use grinding or flap discs carefully to level welds without excessively thinning nearby steel. Sandpaper, sanding blocks, and scuff pads prepare the area for filler, primer, and paint. Wax and grease remover cleans the surface before coating.

Common finishing materials include:

  • Body filler and spreaders
  • Seam sealer
  • Rust converter or inhibitor
  • Automotive primer, color, and clear coat
  • Undercoating or cavity protection where appropriate

Most Raybuck replacement body panels have an EDP coating. It does not require complete removal before painting. Scuff and clean it before applying primer. Welding and bonding areas require preparation appropriate to the joining method. Consult our EDP coating guide before preparing a coated panel.

Build Your Collection Around Each Project

Man in garage

You do not need every specialized tool immediately. Start with safety equipment, inspection tools, an angle grinder, a drill, suitable abrasives, clamps, and hand tools. Add spot-weld cutters, flanging tools, and welding equipment as required.

Budget for consumables such as cutting discs, flap discs, drill bits, sandpaper, welding wire, primer, and seam sealer. Planning for replacements helps keep the repair moving.

Prepare First, Then Repair

Successful body work starts before damaged metal is removed. Inspect the area, choose the correct panel, review the installation method, and organize the safety equipment, tools, fasteners, and finishing products. Careful preparation gives enthusiasts greater control throughout the repair.

Further Reading

Categories
Repair and Replacement

What Is the Difference Between OEM and Aftermarket Automotive Parts?

The difference between OEM and aftermarket parts lies in who makes them. Original Equipment Manufacturer (OEM) parts are made by original manufacturers to guarantee the same quality and fit as the original component. Other companies produce aftermarket parts, which can vary in quality and price and might not be identical to the original components.

How Can You Tell Which Type of Part You’re Getting?

You can tell which type of part you’re getting by its branding. OEM parts come in official factory boxes and have manufacturer logos or branding stamps. In most cases, authorized dealers and car dealerships will offer OEM parts, while chain auto stores and independent shops will offer aftermarket parts.

Are Aftermarket Parts Just as Good as OEM Parts?

Aftermarket parts can be just as good as OEM parts, but quality varies widely. Many aftermarket parts meet the same, and sometimes higher, standards as factory parts. However, these parts may lack warranties or may not fit properly. It’s important to research reputable brands before buying aftermarket parts.

Do OEM Parts Last Longer Than Aftermarket?

OEM parts do not always last longer than aftermarket components. OEM parts are generally more dependable, but high-quality aftermarket parts can sometimes outperform OEM components. Aftermarket parts for performance upgrades also often exceed OEM standards.

When Should You Choose Aftermarket Parts?

You can choose aftermarket parts when you’re addressing common maintenance concerns or looking to save money on a fast repair. Aftermarket parts are typically around 60% less expensive than OEM parts, making them a great choice for cost-conscious buyers. Choose the following aftermarket parts for excellent performance at a lower price point:

When Should You Choose OEM Parts?

It is best to choose OEM parts for critical structural components, complex electronic parts and when your vehicle is under warranty.  OEM parts avoid warranty denials and guarantee exact fit and performance for critical systems. Choose these OEM parts:

  • Transmission
  •  Fenders
  • Doors
  • Electrical sensors
  • Timing components
  • Airbags
  • Computer control modules
  • Collision body panels

Find High-Quality Parts From Raybuck Auto Body Parts

Raybuck Auto Body Parts specializes in high-quality auto body and restoration parts. If you’re restoring or repairing your vehicle’s body, browse our selection for durable panels, flooring and restoration essentials, backed by decades of experience and customer-first service. Browse our inventory by brand to find the parts that will meet your budget and performance needs.

Find High-Quality Parts From Raybuck Auto Body Parts