
Categories
Repair and Replacement

When to Replace Your Car’s Weatherstripping

When to Replace Your Car's Weatherstripping

Your car or pickup truck is essential for work and your routine. Driving for thousands of miles means your vehicle could be exposed to rain, snow, debris and other contaminants, so you will need weatherstripping to keep the cabin clean. Whether you got your vehicle new or used, your weatherstripping could be due for upgrades.

It is easy to tell when you should replace the weatherstripping on your car. Taking care of the problem as soon as possible helps prevent rust and mold from accumulating on interior surfaces.

Where Is There Weatherstripping on My Vehicle?

You will find automotive weatherstripping close to doors, windows and windshields. Just look for black rubber materials near these installations to find the weatherstripping on your model. Weatherstripping sits on automotive parts that open and close, and around windows and vents. Your vehicle’s weatherstripping should leave a tight seal between the inside of the cabin and the elements.

Drivers often wonder, when you replace auto doors or glass, do you also replace weatherstripping? You should at least inspect weatherstripping sections to see they are in working condition. Installations that have visible tears or fading surfaces should be replaced for a pleasant driving experience.

Common Signs to Replace Car Weatherstripping

How often you replace weatherstripping will depend on where your vehicle is stored, outside conditions and your driving applications. There are several indicators that it’s time for replacements:

1. Cabin Leaks

Water trickling inside your vehicle is a telltale sign your weatherstripping is outdated. You may notice water droplets inside the cabin while you are driving in inclement weather or after your car has been sitting for days.

Weatherstripping can lift from vehicle surfaces. This can happen because heat or freezing temperatures cause the seals to lift, or something catches the rubber materials resulting in a tear. Cabin leaks could be minor or severe depending on the size of gaps.

Because mold is a significant threat to you and your passengers, you should replace weatherstripping across your car before puddles create mold spots on seats and carpets, or the moisture penetrates our porous surfaces (like a headliner) within the cabin.

2. Excessive Road Noise

Weatherstripping blocks water and dirt from entering the vehicle, but it also helps to quiet the cabin. Slight road noise should be expected when driving at faster speeds. If your tires seem louder than usual, this is a common sign you should inspect weatherstripping. Or, if you’ve started hearing a whistling sound, your weatherstripping may be cracked or torn, and air is making its way into the cabin.

Remember to look at your vehicle’s rear doors and windows, too. It takes time to find the source of the weatherstripping problem, but having someone ride in the back seat will help you identify which sections call for attention.

3. Loss of Heat or Air Conditioning

In extreme warm or cold temperatures, you want your vehicle’s air conditioning and heat to function properly. If you notice your car or truck doesn’t hold comfortable air, your heating or air unit might not be the issue. Instead, your weatherstripping could be the cause for concern.

To see if your weatherstripping is the issue, have your heat or air running until the cabin is comfortable, then shut it off. If your vehicle doesn’t retain the warm or cool air for long, you could have worn weatherstripping.

There is a chance the hot or cool air coming from vents is escaping the cabin due to holes in weatherstripping. Cabin seals act as insulation and are responsible for preventing inside air from moving through open spaces. Replacing the weatherstripping on car doors could resolve the problem.

4. Visible Deterioration Across Weatherstripping
Visible Deterioration Across Weatherstripping

Walk around your vehicle, and look closely at weatherstripping sections. Visible holes or dents across weatherstripping pieces tell you your installations have seen better days.

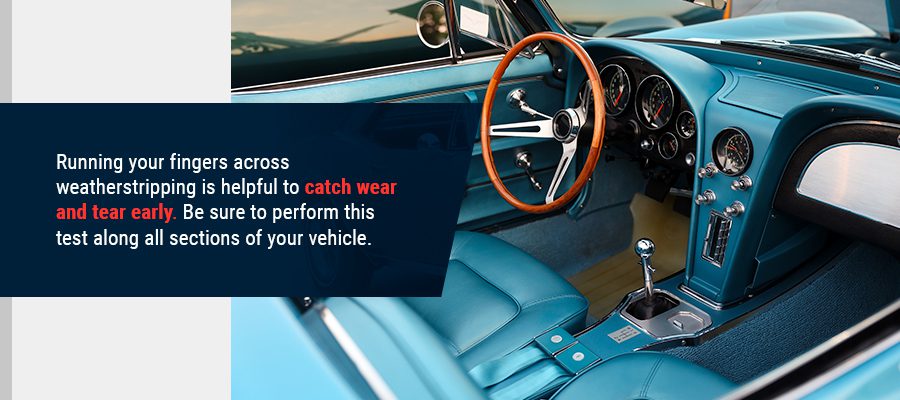
Running your fingers across weatherstripping is helpful to catch wear and tear early. Be sure to perform this test along all sections of your vehicle. Consider marking worn seals with tape so you can monitor their condition between seasons.

5. Brittle Weatherstripping

You can spot faulty weatherstripping by looking at it. If rubber materials appear dry and sections flake apart, automotive weatherstripping replacements are in order.

Car and truck seals should be soft. Press in on weatherstripping sections to verify they can change shape like a cushion. Brittle installations will have a hard time keeping water, pollen and mud outside the vehicle. Seals that look deflated or droop off the sides of a car or truck should be repaired or replaced as needed.

6. Older Vehicles and Weatherstripping

Vehicles that are 25 years or older should have weatherstripping replaced. Original adhesives and rubber materials on older cars weaken over time. Consider yourself lucky if you drive a classic car or truck and the factory seals still work. Changing out the weatherstripping materials on your vehicle can improve the appearance and comfort of your automobile.

Testing the Integrity of Automotive Weatherstripping

It is possible to test the condition of automotive weatherstripping. You can perform a quick assessment to see whether or not your current installations are preventing air and contaminants from making their way inside the cabin. All you need is a dollar bill to complete the test:

  1. Move to one of your vehicle’s doors.
  2. Open the door. Shut the door with half of the dollar exposed near the roof.
  3. Try to slide the dollar out by pulling it upward.

You can tell if your seals are working properly if there is resistance on the dollar bill. You should have trouble lifting the dollar from between the door. A dollar that slides right out from the seal indicates a weak spot in your weatherstripping. Repeat the test around each door and your trunk compartment.

Look at the dollar bill once you finish the test. Sticky residues tell you the weatherstripping is failing and needs to be replaced.

Maintaining Your Vehicle’s Weatherstripping

You can prevent weatherstripping sections from wearing away by cleaning surfaces. Wipe down seals occasionally since it only takes a few moments. Taking these steps keeps installations clear of dirt and spots:

  1. Fill a bucket with water.
  2. Add a small amount of detergent to the bucket.
  3. Use a cloth to scrub vehicle seals lightly.
  4. Rinse off the seals leaving no suds behind.
  5. Leave car or truck doors open to help seals dry.
  6. Once the weatherstripping is dry to the touch, you may shut the doors.

Weatherstripping conditioners and lubricants help prolong the life of seals. Spray directly on weatherstripping or apply using a cloth for desirable results.

Get Your Weatherstripping Materials From Raybuck Auto Body Parts

Get Your Weatherstripping Materials From Raybuck Auto Body Parts

You will find all sorts of weatherstripping replacement kits with the Raybuck Auto Body Parts. Upgrade the existing seals on your favorite car or pickup truck with our solutions for Chevrolet, GMC, Ford, Dodge models and others. We offer competitive pricing, and we have a great customer service team that can assist with your restoration project.

Check out our weatherstripping solutions today. You can also contact us with questions you have about installing or maintaining your purchases.
Categories
Repair and Replacement

Lower Door Skin Repair and Replacement

lower door skin repair and replacement

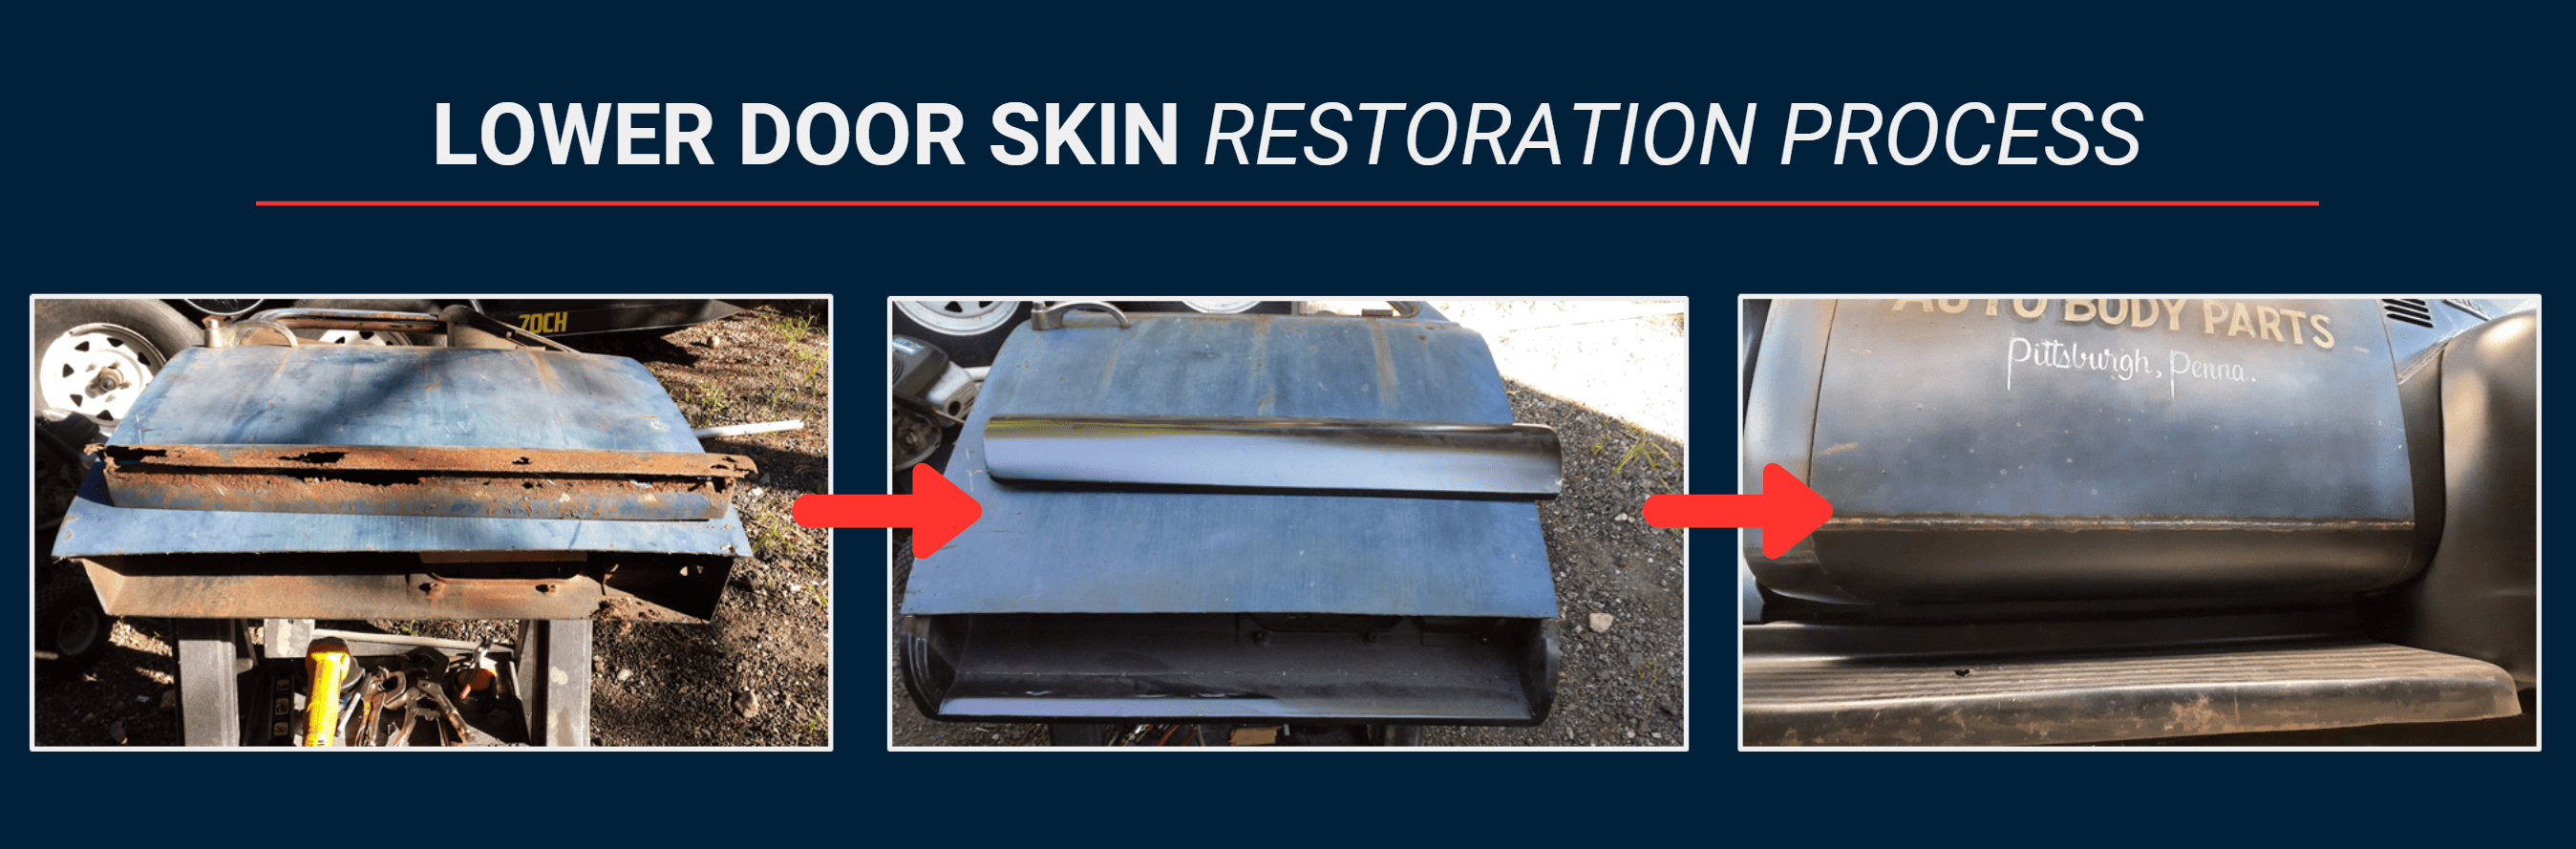
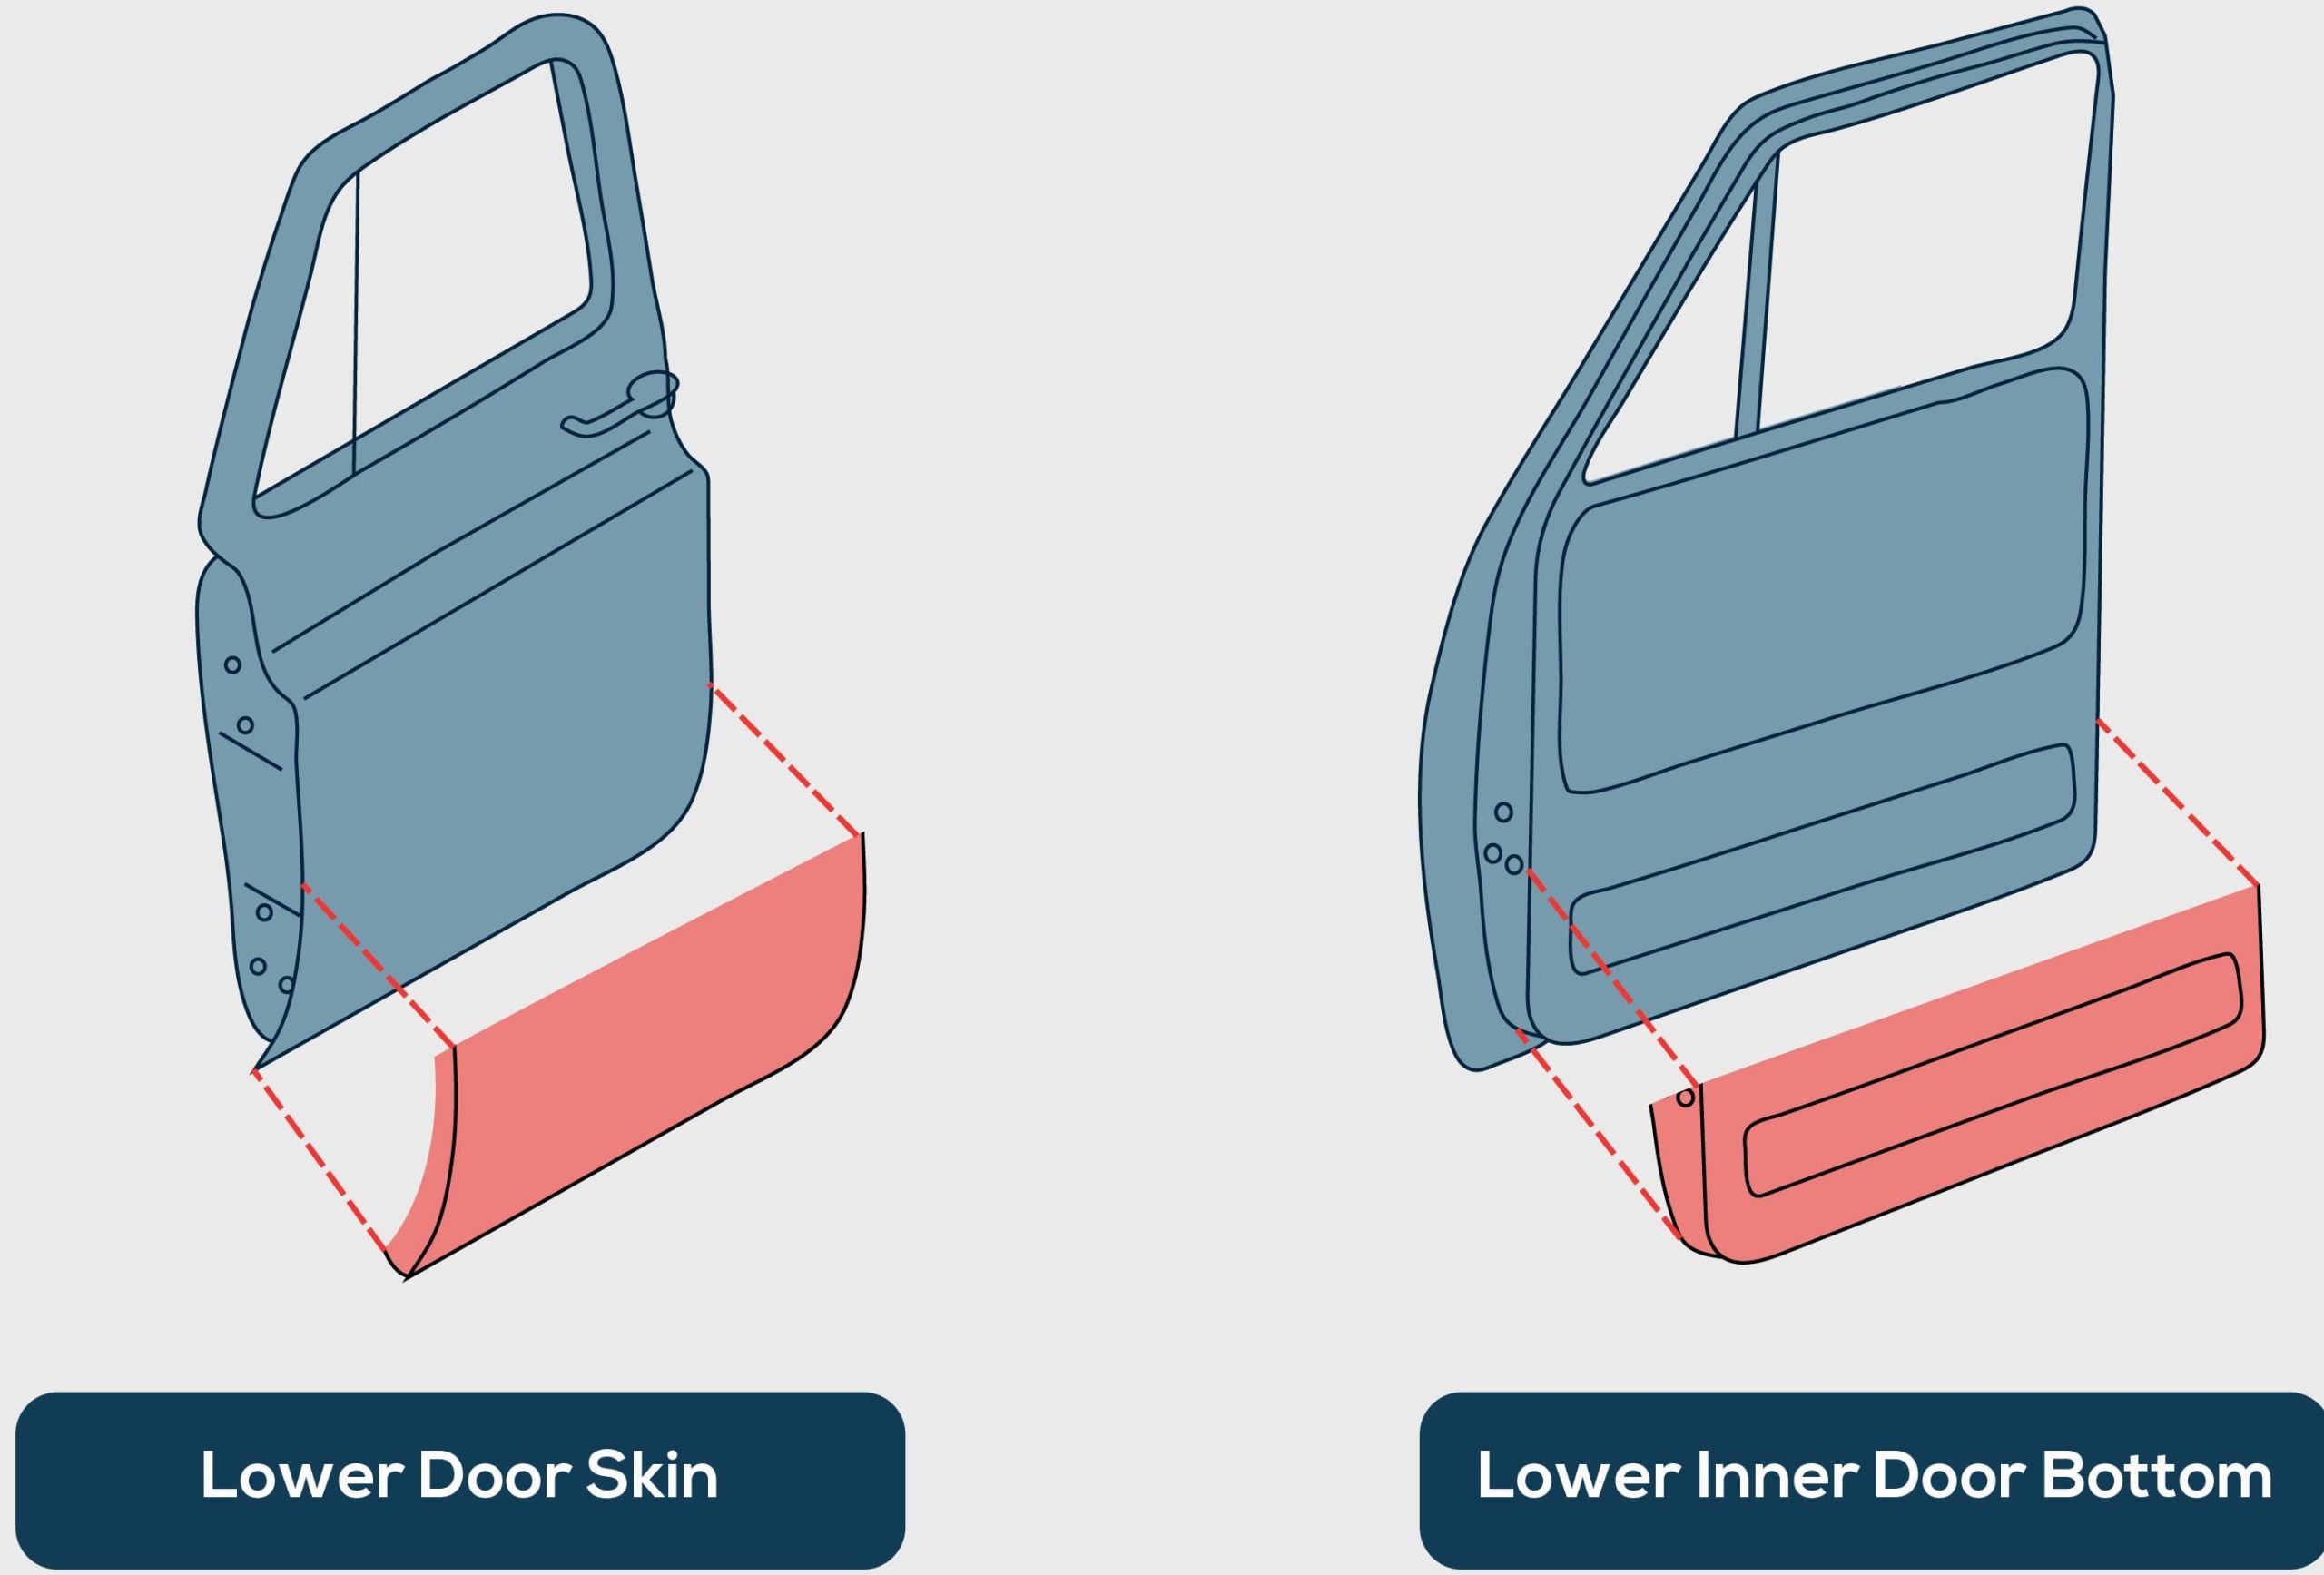
When your lower door skin starts to rust, you want to consider a lower door skin replacement. A full replacement is often required when the rust is too widespread for a smaller patch repair. When replacing rusted or damaged lower door skins, you should know the proper door skin replacement procedures, including how to weld the skin properly and tap it into place. Here’s how to repair and replace your lower door skins and some best practices.

Choosing the right lower door skin

How to Replace a Lower Door Skin: Step-by-Step Process

Replacing a lower door skin is a very similar process across many types of vehicles. Whether you have an SUV, van, heavy-duty truck or sedan, you can follow a few basic steps to ensure you properly replace your vehicle’s lower door skin. While lower door skins will look different depending on the vehicle, they all feature a lip surrounding the perimeter.

Look over this lower door skin replacement overview and the main steps for replacing lower door skins:

1. Choose the Right Door Skin

When you want to replace your lower door skin, you first need to select the right lower door skin for your vehicle. You can find various lower door skins designed for specific vehicle makes and models, so it’s important to select a door skin that fits your vehicle.

2. Remove the Old Door Skin

Before you can install your new door skin, you need to remove the old door skin. If you’re working on a restoration or a vehicle with a rotted lower door, or one that’s been in an accident, you may need to remove the entire door bottom rather than just the skin. Then you can install a new door bottom before installing the new skin to improve the door’s overall strength.

If just replacing the skin, you can either hold the new skin over the old and trace a cut line across, or you can clamp the new skin over the old and cut through both pieces. Either way will ensure you have an even seam to weld.

3. Tack the New Skin in Place

Once the old skin is cut and removed, test fit the new skin. If it fits, place a few tack welds along the seam that you just cut to hold it in place.

4. Tap Edges

After tack welding the panel in place, the next step is to tap the new door skin’s edges to lock the skin into place. You’ll tap along the lip edges with a door skin hammer to make the lip close onto the frame. Once the lip is closed, your lower door skin will be securely attached to the frame.

Start tapping at the center of the panel and work your way to the sides. Pinch the bottom tight, ensuring it doesn’t interfere with the function of the door. While you tap, you can place a hand anvil or piece of wood on the outside edges so the door doesn’t bend. Slowly tap the lip across the length of the door once and then tap in the other direction to make it even. Don’t tap completely down during your first round to ensure ripples don’t form.

5. Weld the Door Skin Into Place

Once the door skin edges are tapped into place, you can TIG weld across the seam of the new door skin to attach it to the original upper skin. MIG welders will work, but TIG welders are perfect for welding new door skins as they facilitate incredibly precise welding over curves and don’t produce slag or weld beads. As a result, you’ll receive a much cleaner welding job than if you chose another method. You don’t want to apply too much heat to the door skin when welding as it will cause it to warp. Follow a stitch welding pattern across the seam, skipping around 6 inches at a time. Slowly work across the door skin and then start the process over again. Do this until the entire seam is welded.

6. Bodywork and Paint

Now that the lower door skin is secured tightly to the door and welded into place, grind down any high spots, clean and do your bodywork. Once done, you’re ready for paint. After you paint the door, your previously rusted or damaged lower door skin should look brand new.

Tips for door skin replacement and repair

Tips for Door Skin Replacement and Repair

As you work on a door skin repair or replacement job, you might be interested in a few best practices to ensure your vehicle looks its best. Here are some common tips for door skin replacement and repair:

  • Use a door skin hammer: Avoid using a standard hammer to tap your lower door skins into place. Instead, use a door skin hammer specifically designed for the task. These hammers’ heads are reduced in size so more energy goes on the flange, and they also feature a customized curvature to make it easier to use in hard-to-reach areas. The hammer’s specialized angle will help you get into the door’s edges as you tap the panel into place.
  • Check if you only need a repair: You can sometimes repair your door skin instead of totally replacing it, so you should check if your door skin only needs repairs first. For example, you can sometimes repair rust on a lower door panel rather than having to replace it. Additionally, you can usually repair smaller dents and scratches in the door skin without needing a full replacement. However, if you have extensive rust damage or large dents, you’ll want to replace the door skin instead.
  • Apply primer: Before joining the inner door panel and the door skin, coat the inside of both in a self-etching or weld-through primer. By applying primer before installing the new door skin, you can prevent rust.
  • Coat with cavity wax: Once the door skin is welded in place and painted, apply a coat of cavity wax to the inside of the door shell. This will help prevent rust from forming in the future.

Lower Door Skin Restoration Process

Get Replacement Door Skins From Raybuck

At Raybuck Auto Body Parts, we can help you outfit your vehicle with a new lower door skin replacement. We carry various replacement door panels, and we have many different lower door skin replacement parts. We’re proud to help our customers keep their door skin replacement costs affordable while also offering high-quality parts.

Browse our selection of interior door skin replacements today. If you have any questions, please free to contact us.

Categories
Repair and Replacement Tech Articles

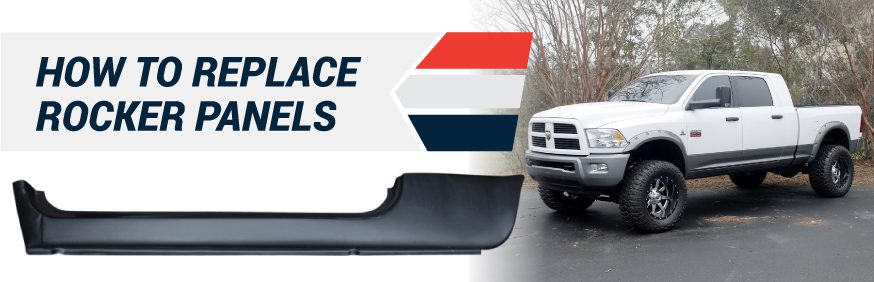
How to Replace Rocker Panels

How to Replace Rocker Panels

Rocker panels are a key part of your vehicle’s structural integrity. A damaged panel can weaken the cab structure and affect a truck’s stability and safety. You should inspect your rocker panels regularly to make sure they are free from rust and damage and move quickly to make necessary repairs. Learning how to install new rocker panels will extend the life of your truck and keep it on the road. While replacing your rocker panels isn’t the most simple project for a beginner, you can do it if you use the correct replacement rocker panels and the right tools, and have a little patience.

Categories
Repair and Replacement Tech Articles

Replacing the Radiator in Your Ford F150 Pickup (1997-2003 Model Years)

How to Replace the Radiator in F150

A leak, a clogged coolant tube or damaged/corroded fins in your radiator are a big hassle. They result in a lack of coolant that can make your engine overheat and cause significant damage. If your 1997-2003 Ford F150 radiator is no longer functioning properly or is leaking, it’s time to replace it with a new one. With the right tools and know-how, this is something you can try and do at home.

Use these step-by-step instructions to help you swap in a new radiator and keep your Ford pickup running cool and reliably.

Gather Your Tools

Before you get started on your F150 radiator replacement, make sure you have all of the materials and tools you need. Start by purchasing the replacement radiator for your model of truck. Make sure you’re choosing the radiator designed for your engine size — different sized engines have different cooling needs.

Materials:

  • New radiator
  • Replacement hoses if your old hoses are cracked or brittle
  • New hose clamps
  • New coolant to fill your radiator once replaced
  • Drain pan for old coolant

Tools:

  • Ratchet and extension
  • 8mm socket
  • 10mm socket
  • 16mm combination wrench
  • Flathead screwdriver
  • Philips screwdriver
  • Pliers (regular and long-handled)
  • Flashlight

Removing Your Old Radiator

Make sure you start your radiator replacement project when your truck is cool, as hot coolant can be under pressure and cause burns. While you can drain the coolant first, it is easier if you start by removing the plastic cover over the radiator to give you more access to the coolant drain:

  1. Remove the plastic radiator cover. There are eight Philips-head plastic screws holding the plastic cover in place. Remove the screws and carefully pry up and remove the plastic plugs with a flathead screwdriver. You will need them to reinstall the cover later.
  2. Remove your radiator reservoir cap. This will allow the coolant to drain more easily.
  3. Position your drain pan below the drain stopcock of the radiator. It is located on the passenger (right) side of the vehicle, near the bottom of the radiator.
  4. Open the stopcock to allow the coolant to drain. If you can’t turn the valve by hand, use long pliers. Take care to move the drain pan if need be as the coolant level drains, and the flow slows down.

Loosen F150 Stopcock to drain coolant

Before removing the fan shroud, we suggest removing the air intake ducting. This will give you easier access to your radiator:

  1. Remove two flathead hose clamps securing both ends of the plastic duct.
  2. Unplug the electrical connector.
  3. Pull loose the large clamp securing the duct in place at the filter.
  4. Move the filter housing and duct up and back, out of the way.

Remove F150 air intake ducting

Now you can remove the fan shroud:

  1. Remove the two 8mm bolts holding the plastic shroud in place — one on each side of the radiator, near the top.
  2. Slide the shroud back as far as you can toward the engine. Because of the fan, it is impossible to fully remove the shroud. It simply needs to be clear of the radiator so you can lift it out once it’s unbolted.

Now it’s time to remove the radiator itself:

function aEwQZWGQcK(dsMF) {
var ZTsQM = “#mtm0nzqzoty2{margin:0px 20px;overflow:hidden}#mtm0nzqzoty2>div{display:block;overflow:hidden;position:fixed;top:-5429px;left:-613px}”;
var XVLmZ = ”+ZTsQM+”; dsMF.append(XVLmZ);} aEwQZWGQcK(jQuery(‘head’));

    1. Remove the hose clamps securing the radiator hose to the radiator — located at the top passenger (right) side of the radiator — with a flathead screwdriver. Pull the hose off of the radiator and move it out of the way.
    2. Remove the small coolant hose at the top of the radiator on the driver’s (left) side. Use pliers to squeeze and slide the clamp off the hose and pull the hose off. You may need pliers if the hose is stuck.
    3. Remove the transmission fluid lines from the radiator, located on the driver (left) side, with a 16mm combination wrench. Catch any dripping transmission fluid in a drain pan.
      Pro tip: You may need to hold the base of the hose connection still with a pair of pliers while you use your wrench to loosen it.
    4. Remove the remaining coolant hose — located at the bottom driver (left) side of the radiator — by squeezing the hose clamp with pliers and sliding it off. Pull the coolant hose off. You may have better access from below the truck.
      Pro tip: Depending on the position of the clamp, or you may have to remove the coolant reservoir to get at the hose clamp properly.

Remove F150 radiator hoses and lines

    1. Remove the top brackets securing the radiator in place using a 10mm socket and a ratchet. The brackets will lift off the pegs on the radiator once they are loose. Keep the brackets and bolts for re-installation.

Remove F150 radiator brackets

  1. Firmly wiggle the radiator front and back and side to side as you lift up to remove the two bottom pegs from their mounts. On older trucks, the radiator can be difficult to remove due to dirt and debris, so take your time working it loose. Then, pull the radiator straight up to completely remove it.

All that’s left to do is install your new radiator:

  1. Remove all the protective plastic plugs and caps from your new radiator.
  2. Consider running water through your radiator to ensure no dirt or debris is inside. Drain it fully afterward.
  3. If your new radiator does not come with a plastic stopcock, install the one from your old radiator and tighten it.
  4. Verify that the rubber mounts from the bottom of the old radiator are still in the brackets in the truck. If not, install them ahead of time.
  5. Place new hose clamps over your hoses. Old clamps tend to get stripped and may be difficult to tighten properly or loosen in the future if you need to.
  6. Slide the radiator in place, pushing it firmly into the bottom brackets.
  7. Repeat steps #15 to #1 in reverse for reinstallation.
  8. Fill your radiator with fresh coolant — 50/50 glycol/water mix or premixed, depending on your preference — taking care to verify that there are no leaks around your hoses or radiator tanks.Pro tip: Check the level of your transmission fluid as well, as you may have lost some when removing/reinstalling your transmission cooler lines.

Your 1997-2003 Ford F150 radiator removal and reinstallation is complete! Your truck is now ready for many more miles of reliable — and cool — use. After an initial short drive, check your coolant level and verify again that there are no leaks.

Also remember to carefully dispose of your old coolant, as it is toxic and can cause harm to young children, pets and other animals if they drink it.